
Blog
Discover how Wilson’s Custom Flooring can help address cracked or loose tiles, grout issues, and discoloration. Explore options at quality floor tile stores.

Discover why carpet edges curl and explore solutions. Our carpet layers in Owensboro, KY, can help keep your home safe and visually appealing.
Laminate flooring has become a popular choice for many households, especially those with busy schedules. Its blend of durability, style, and affordability makes it an appealing option for families constantly on the go. Whether you're chasing after kids, cleaning up after pets, or just looking for a low-maintenance floor, laminate seems to tick all the boxes. In this discussion, we'll look at the pros and cons of laminate floors in homes bustling with activity. We'll explore what makes laminate a great choice and also cover the challenges it may bring. By the end, you'll have a clear picture of whether laminate is the perfect fit for your home. Advantages of Laminate Floors for Busy Households Laminate floors are known for several benefits that cater to the needs of active families. 1. Durability and Resistance to Wear - Laminate flooring is renowned for withstanding high foot traffic, which is ideal for families with kids or pets. Its top layer is designed to resist scratches and other wear-and-tear, keeping it looking fresh for years. 2. Easy Maintenance - Cleaning laminate floors is straightforward, an important feature for families with little time for extensive cleaning routines. Here's how you can keep your laminate floors shiny and clean without much hassle: - Sweep regularly to prevent dirt buildup. - Use a damp mop for weekly cleaning. - Avoid excessive water to maintain floor quality. 3. Cost-Effectiveness - Laminate floors offer the look of real wood or stone without the hefty price. They provide budget-friendly elegance, allowing you to enjoy beautiful flooring without breaking the bank. 4. Aesthetic Variety - Laminate flooring offers a wide range of colors and patterns, making it easy to find something that matches your home's style. From rich mahoganies to sleek greys, the options are nearly endless. With all these advantages, it's easy to see why laminate flooring is favored by busy households. But like any flooring choice, it also comes with a few downsides. Let's explore these next. Drawbacks of Laminate Floors for Busy Households While laminate flooring offers many perks, there are some things to keep in mind. One of the primary concerns is its susceptibility to water damage. Excessive moisture can seep between the seams and cause swelling or warping. For families with children who might spill drinks or homes prone to leaks, extra precautions are essential. Noise can also be an issue with laminate. Though its hard surface is durable, it can amplify sounds, making footsteps or the pitter-patter of pet paws more noticeable. In a bustling household, this could lead to noise levels that some find bothersome. Using area rugs or underlayment can help dampen sound. Compared to hardwood, laminate may have a shorter lifespan. While it's made to last and withstand various challenges, heavy wear can lead to signs of aging sooner than some more robust materials. Additionally, if a piece of laminate gets damaged, it can be more challenging to repair than wood. This is because you often need to replace the entire board rather than a spot fix. Tips for Maximizing the Benefits of Laminate Floors Keeping your laminate floors in top condition and making the most of their features is easier with a few simple strategies. Here are some practical tips: Regular Cleaning Practices: - Sweep or vacuum often to keep dirt and debris at bay. - Use a damp mop weekly to maintain its luster without soaking the floor. - Immediately wipe up spills to prevent damage. Protective Measures: - Place mats at entryways to catch dirt before it spreads. - Use area rugs in high-traffic areas to reduce wear and manage noise. - Consider adding protective pads under furniture to avoid scratches. Professional Installation: - Having your laminate professionally installed ensures the best fit and finish. It can help prevent gaps and other issues that could arise with less experienced installation. Making the Right Flooring Decision for Your Busy Household Choosing the right floor for your hectic home involves weighing the benefits and downsides. Laminate offers a great mix of affordability, variety, and ease of care, making it suitable for many families. However, understanding its limitations with moisture and potential noise can lead to better long-term satisfaction. When deciding, consider not just appearance but the practicalities of daily life in your home. Whether managing kids playing or dealing with pet traffic, picking a floor that matches your lifestyle needs will enhance comfort and ease. Selecting flooring that aligns with your household’s demands can transform day-to-day experiences, making life more pleasant and less hectic. It's all about finding what fits best with your daily routine, giving you peace of mind and a lovely home environment. For those eager to enhance their home's style and functionality with a practical solution, consider choosing laminate flooring. It combines elegance and affordability with ease of care. Ready to transform your space? Visit Wilson’s Custom Flooring to explore how we can help you install laminate floors with ease and confidence. Check out our website to learn more about our products and services tailored for busy households in Owensboro, KY.
Discover easy ways to refresh your living room using creative wall accents, from material selection to DIY techniques and maintenance tips. Keep reading!
Discover easy tips and tricks to keep your bathroom tiles clean, shiny, and free from stains and mold for a sparkling bathroom.
Discover hypoallergenic flooring options that reduce allergens, along with tips for maintaining allergy-friendly floors and improving indoor air quality.
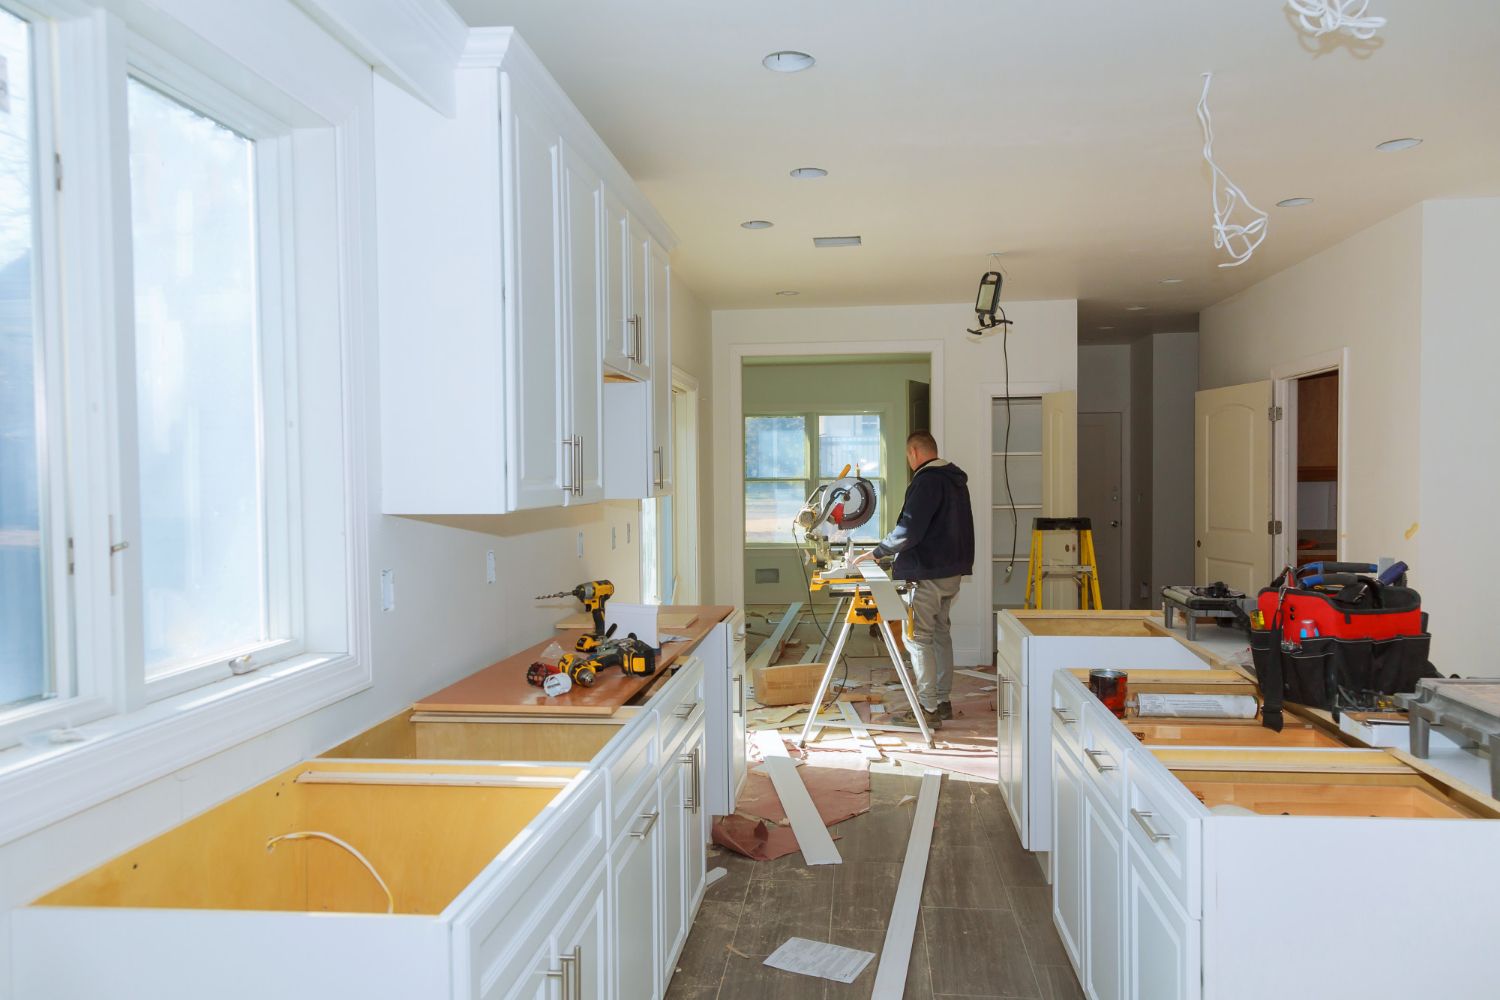
Learn the essential steps to prepare your home for a major renovation, from planning and budgeting to temporary living arrangements and contractor selection.
Explore the pros and cons of carpet and hardwood flooring to make the best choice for your home in comfort, maintenance, cost, and eco-friendliness.
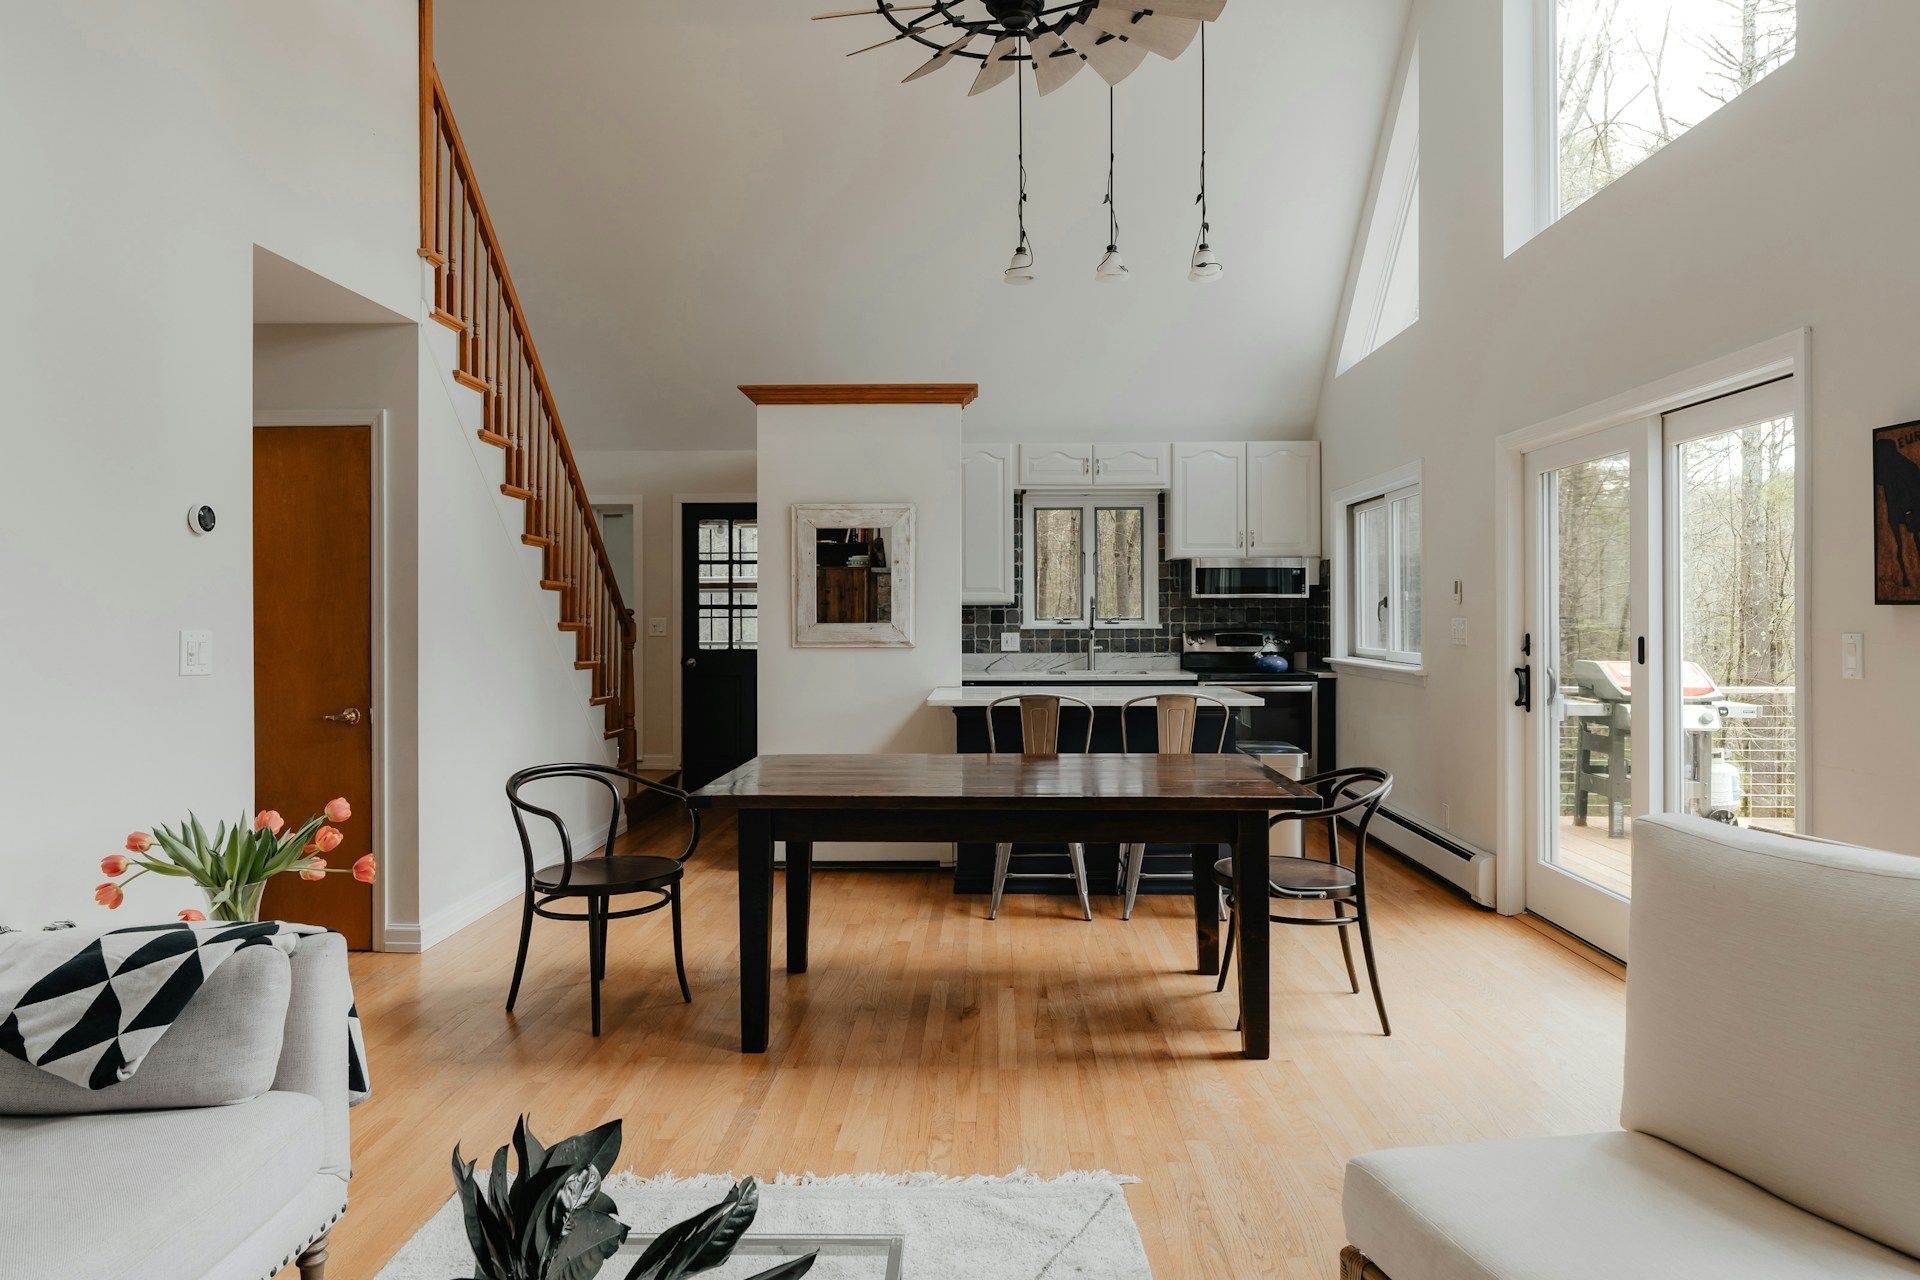
Discover the latest flooring trends for 2025, including eco-friendly options, new textures, smart features, and vibrant colors.
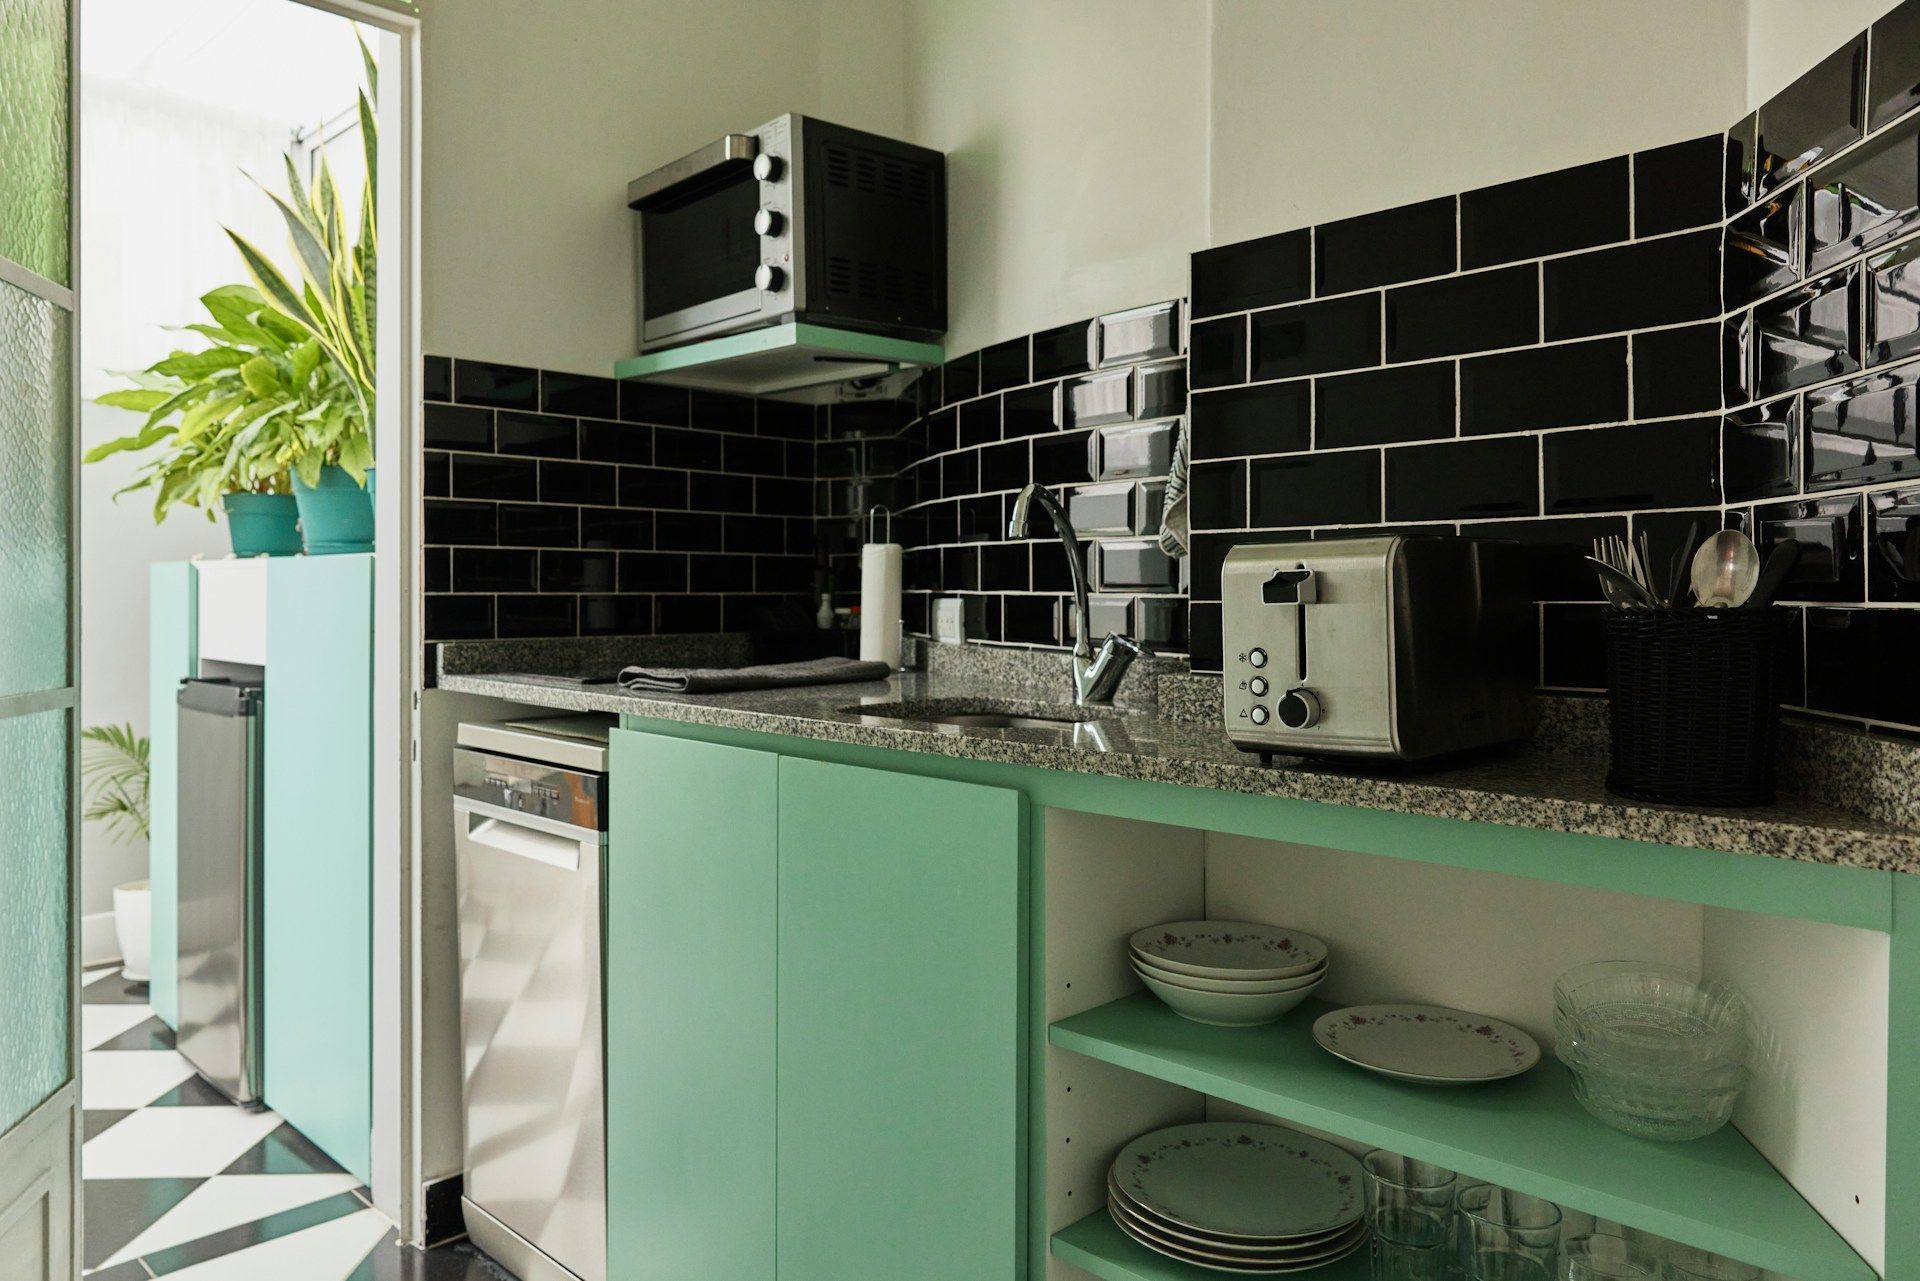
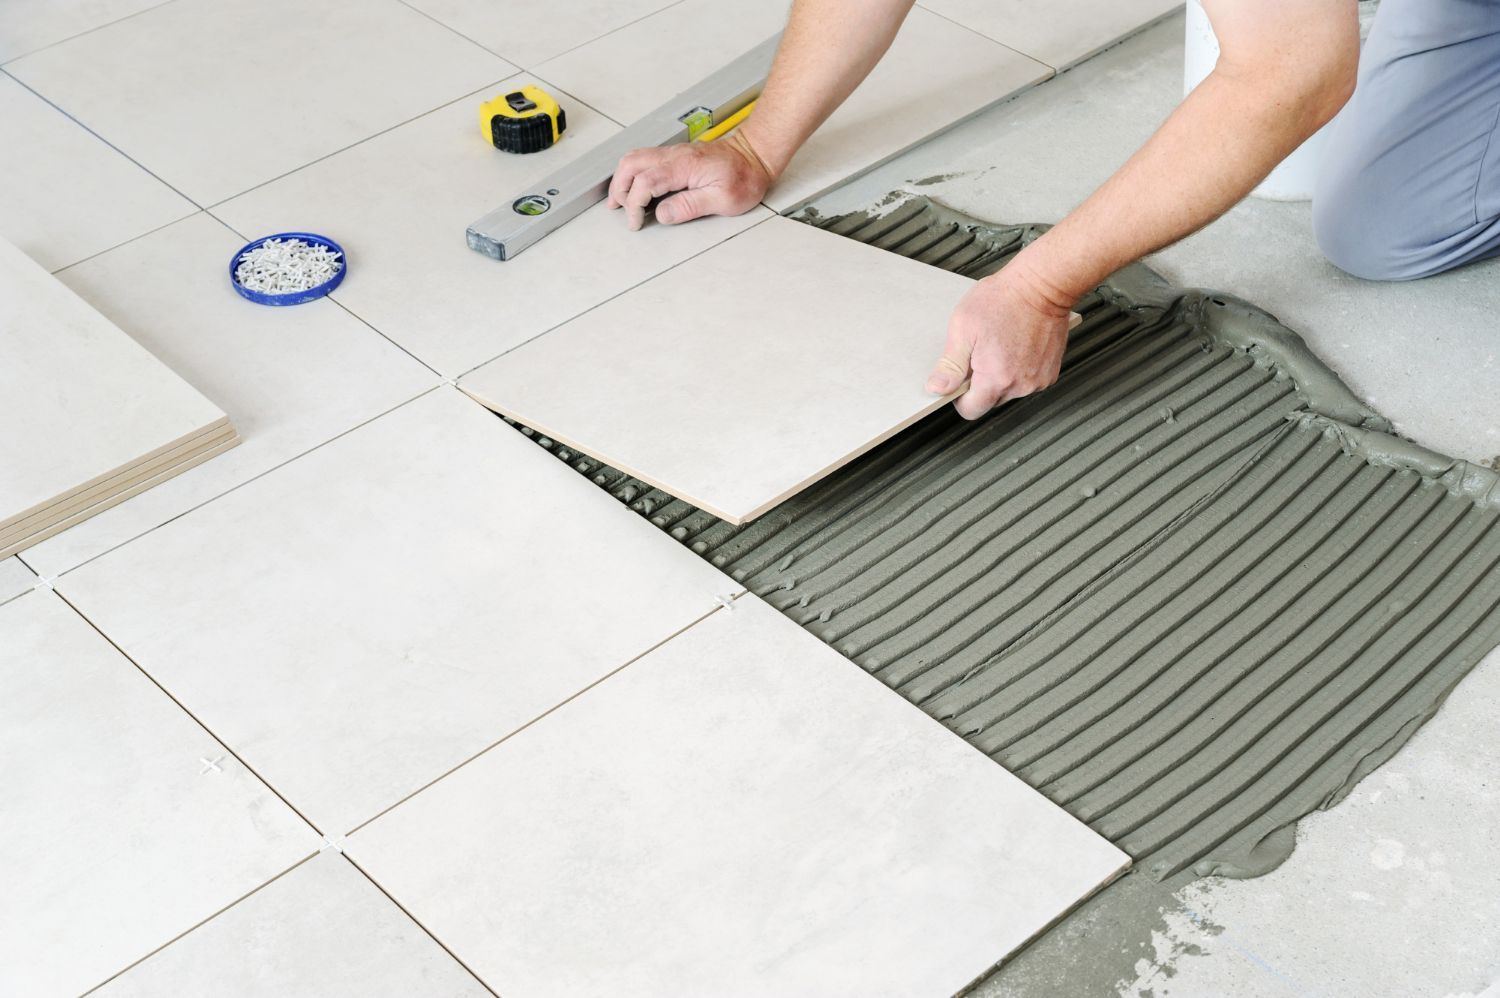
Updating your kitchen or bathroom with a tile backsplash can give the room a whole new look. A backsplash isn't just about making spaces prettier; it also protects walls from water and stains. Tackling this project yourself may seem challenging, but with the right guidance, anyone can do it. Picking the perfect tiles and gathering the necessary tools will set you off on the right foot. Choosing a style that matches your taste helps personalize your space and adds flair. Essentials like tile spacers, adhesive, and grout ensure that you have everything ready for the installation process. Following a clear step-by-step approach will make installing the backsplash a rewarding experience. Once the tiles are up, a few finishing touches enhance the overall look. Plus, knowing how to care for your new backsplash keeps it looking fresh for years. Whether you’re a seasoned DIY enthusiast or a first-timer, these tips will help you create a beautiful and functional tile backsplash. Choosing the Right Tiles for Your Space Selecting the perfect tiles for your space is an exciting step in any renovation project. The right tiles can transform your area, adding style and functionality. Consider a few important factors to make the best choice. First, think about the room where you'll install the tiles. Different rooms have different needs. For instance, bathrooms require tiles that can handle moisture, while kitchen backsplashes can focus more on aesthetics and less on water resistance. Size also matters. Larger tiles can make small spaces look bigger by reducing grout lines, while smaller tiles offer more flexibility in design, creating intricate patterns and focal points. Texture and color play a huge role in setting the mood of your space. Glossy tiles create a sleek, modern look, whereas matte tiles offer a more relaxed, contemporary feel. Color choices should complement existing decor, enhancing the room’s overall appearance without clashing with other elements. Finally, consider durability and slip resistance, especially in wet areas like bathrooms. Porcelain and ceramic tiles are popular choices due to their strength and variety. By evaluating each aspect, you’ll find tiles that not only look good but also serve your space well. Gathering Essential Tools and Materials Before diving into your tile project, gather all the necessary tools and materials to ensure a smooth installation process. Being well-prepared makes the job easier and more efficient. Here's a handy checklist of what you might need: 1. Tiles and Spacers: Choose the tiles and appropriate spacers based on your design. Spacers help maintain even gaps for grouting. 2. Adhesive: Tile adhesive or mortar secures the tiles to the wall. Check whether your project requires premixed adhesive or a powder that you mix yourself. 3. Tile Cutter or Wet Saw: A tile cutter is necessary to trim tiles to fit corners and edges neatly. For harder materials, a wet saw might be more suitable. 4. Notched Trowel: This tool helps spread the adhesive evenly on the surface, ensuring proper tile adhesion. 5. Level and Measuring Tape: Use these to make sure your tiles are straight and aligned correctly. 6. Grout and Float: After the tiles set, apply grout to fill spaces between tiles. A grout float helps spread the grout evenly. 7. Sponge and Bucket: Clean excess grout from the tiles using a damp sponge and bucket water. Having these tools and materials ready leads to a more straightforward installation, saving time and minimizing stress as you work on your backsplash or tile wall. Planning ahead ensures fewer surprises and more success in your tiling project. Step-by-Step Guide to Installing Your Backsplash Installing a backsplash can be a rewarding project that transforms your kitchen or bathroom. With the right steps, you can achieve a professional-looking finish. 1. Prepare the Surface: Ensure the wall is clean, dry, and free of any old adhesive. A smooth, even surface provides a better base for tiles. 2. Plan Your Layout: Dry lay your tiles on the countertop to see how they'll fit and if any adjustments are needed. Mark a straight line on the wall as a guide using a level, starting from the center and working outward. 3. Apply Adhesive: Use a notched trowel to spread an even layer of adhesive on a small section of the wall. Work in small areas to keep the adhesive from drying out before the tiles are set. 4. Place the Tiles: Press each tile into the adhesive with a slight twisting motion. Use spacers between tiles to keep gaps even. Continue until the area is covered. 5. Cut Tile Edges: Measure and cut tiles to fit around outlets or edges using a tile cutter or wet saw. Ensure all edge pieces are securely placed. 6. Let It Set: Allow the adhesive to cure for the time recommended by the manufacturer, typically 24 hours. 7. Grout the Tiles: Remove spacers and use a grout float to apply grout across the tiles, pressing it into the spaces. Wipe away excess grout with a damp sponge. 8. Finish with Sealer: Once the grout dries, apply a sealer for added protection and longevity. By following these steps, you'll create a stunning backsplash that enhances the look and function of your space. Finishing Touches and Maintenance Tips After installing your backsplash, finish with a few final touches and learn how to keep it looking great. These tips will help maintain the beauty and durability of your tiles. 1. Seal the Surface: After grouting, a sealant adds an extra layer of protection, reducing stains and making cleaning easier. Reapply the sealant annually for best results. 2. Regular Cleaning: Wipe tiles regularly with a mild soap solution to prevent grime buildup. Use a soft cloth or sponge to avoid scratching the surface. 3. Tackle Stains Quickly: Clean spills and stains as soon as they occur to prevent staining. A mix of baking soda and water can help lift tough spots. 4. Inspect for Damage: Periodically check for cracks or loose tiles. Early repairs prevent further damage and maintain the backsplash's appearance. These finishing touches and care guidelines ensure your backsplash remains a standout feature in your home for years to come. Conclusion: Choosing the right tiles and installing a backsplash are rewarding tasks that dramatically enhance your space's feel and function. The right decisions during selection, preparation, and installation can turn simple tiles into a stunning focal point. Whether you're tackling the project yourself or seeking professional assistance, these guidelines offer a helpful roadmap to success. Not only will your backsplash beautify your home, but it will also provide lasting utility. For personalized assistance and top-tier tile installation services, reach out to Wilson’s Custom Flooring. Our flooring store in Owensboro is ready to help you with all your tiling needs, ensuring a seamless process from start to finish. Let us help you create the perfect backdrop for your kitchen or bathroom.
